

StenchillBeta
Your PCB stencil, 3D printed
Upload your Gerber files, get a 3D-printable file in seconds.
Drag your Gerber ZIP file here
or click this area
lock How your files are handled
rocket_launchHow it works
Upload
Your Gerber ZIP file (KiCad, Eagle, Altium export...)
Preview
View the stencil in 3D and adjust settings if needed
Download the STL file and print it on your 3D printer
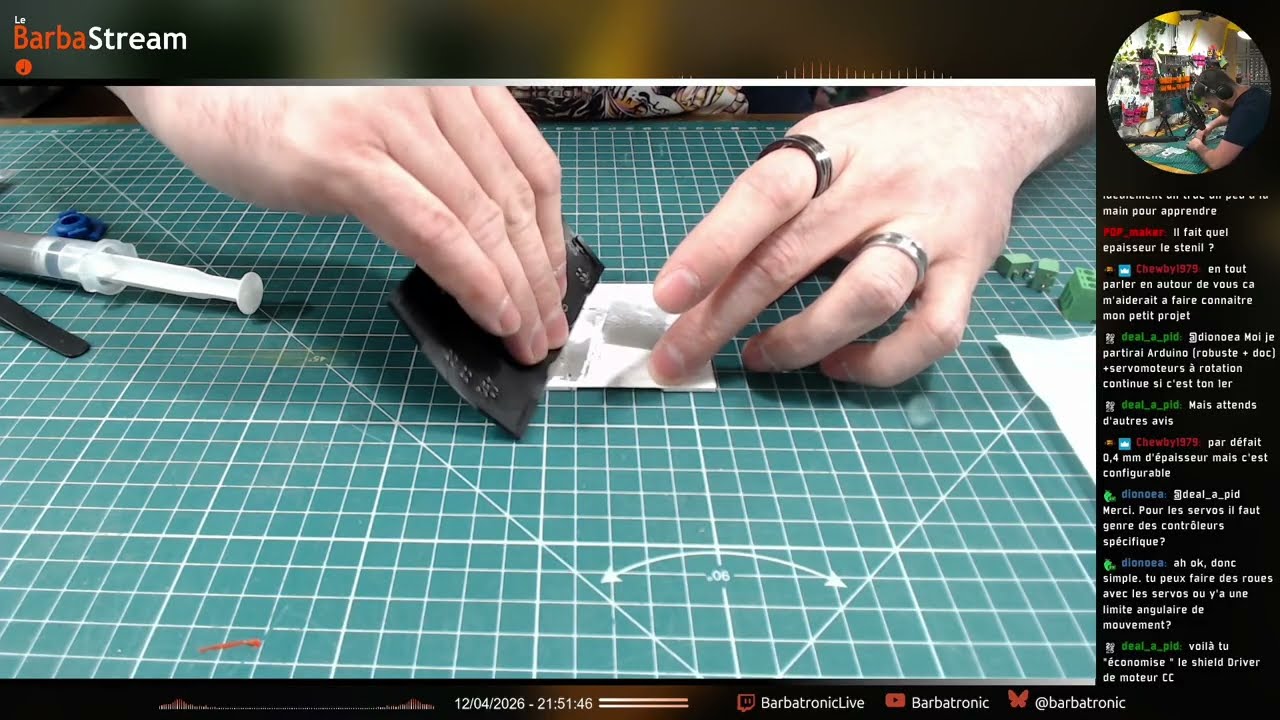
play_circleBarbatronic uses Stenchill
Barbatronic is a French maker and robotics creator. On Twitch since 2019, he publishes hardware tutorials on YouTube, runs an active Discord community, and is a member of the Karibous team, which competes every year at the French Robotics Cup. A community of curious hackers and hands-on makers shows up each week for his practical hardware insights.
Stenchill was actually born in one of his streams. A chat discussion convinced me the idea was worth building and that I had the skills to ship it.
In this video, he integrates Stenchill into his fabrication workflow and shares his first impressions.
help_outlineWhat is a stencil?
A stencil is a thin plate with openings matching the solder pads on your PCB. Place it on the board, spread solder paste with a squeegee, then position your SMD components before reflow. The result: precise and uniform paste deposits, much faster than using a syringe.
precision_manufacturingDesigned for prototyping and small batches
3D-printed stencils work best with 0603+ passive components and large-pitch ICs. For finer components (0402, fine-pitch BGA), a laser-cut stencil is recommended. Use a 0.2mm nozzle for best results on small pads.
starWhy Stenchill?
A professional stencil costs $15-30 per side, here it's free
Generate your file in seconds, print it the same day
Print it at home on your 3D printer
Perfect for old PCBs: get a stencil after the fact, no need to reorder
Built-in registration shoulders for perfect alignment
menu_bookComplete Guide
New to 3D-printed stencils? Read our step-by-step guide to get started.
extensionKiCad Plugin
Use KiCad? The plugin complements the website by letting you launch a generation directly from the PCB Editor. For 3D preview, it's right here!

reviewsWhat users think


lightbulb3D printing tips
Material
PLA works great, PETG offers slightly more rigidity
Print bed
Glass, smooth PEI or mirror gives a flat face that spreads paste cleanly
Nozzle
Recommended for best results. A 0.4 mm nozzle is still acceptable
Layer height
Essential for a smooth surface and good paste application
Stencil thickness
3 to 4 layers at 0.1 mm. Thinner = less paste, thicker = more deposit
Infill
Full infill ensures stencil rigidity
Wall generator
Variable-width walls for narrow pad openings
Print speed
Slow speeds give cleaner pad edges and avoid skipped fine features
collectionsRecent stencils
Previews recently published by users.


photo_libraryGallery

3D printed stencil

Stencil with registration shoulders

Solder paste application

Paste deposited on PCB

Components soldered after reflow
3D printed stencil
Stencil with registration shoulders
Solder paste application
Paste deposited on PCB
Components soldered after reflow
Discover the community
Stenchill is part of a small ecosystem of makers.