How to Build a Minimal ZFS NAS without Synology, QNAP, TrueNAS
Published on: 2024-08-23
If you need a basic NAS and don't care about GUI features, it is suprisingly simple to set up a ZFS dataset and share it over the network using Samba.
Scope:
I am using this article to document it for future myself, feel free to adopt it for your needs. Problem with TrueNAS is that it is a full-featured, supposedly enterprise-grade, software suite. While it may be simple to set it up (I've never tried), I just don't need any of the bells and whistles it offers. It's the mismatch between what I need and what it offers; not something inherently wrong with TrueNAS. There is also something to be said about a system you know everything about and not having to rely on yet another thing.
ZFS's best feature that's never explained or written anywhere
ZFS filesystem is self contained. If your OS is nuked suddently, simply take all disks to another machine or install a new OS, install zfs, run zfs import and get back your data. This freedom is underrated and not well understood. It is also not explained anywhere.
It's worth emphasizing: All configuration/details about ZFS is stored on the disks themselves. If you've setup a RAIDZ2 (Raid 6) with 6 disks, they are self contained. Move them to a new machine with zfs tools installed, and simply run zfs import. Boom, they'll show up as RAIDZ2. This is an amazing feature that no matter what happens to the host OS, machine, etc; as long as the disks are not damaged, your data is fine.
Step 1. Locate and Organize Disks
List all disks on a linux machine using lsblk -d -o TRAN,NAME,TYPE,MODEL,SERIAL,SIZE command.
These are brand new NVMe drives from Samsung so they should be completely unallocated.
The disks are also mapped to an ID, running ls -lh /dev/disk/by-id:
Notice that they are symlinked to their disk names in /dev/.
We can create a /etc/zfs/vdev_id.conf that maps an alias to these IDs:
Run udevadm trigger to set the alias (or you can reboot the machine). We can verify that the aliases have been mapped by running ls -lh /dev/disk/by-vdev:
Alias mapping is completely optional, you can if you'd like use the full ID /dev/disk/by-id/nvme-eui.002538414143c248 of the disk when creating the zpool as we will do in the next section. Using an alias makes it nice. However, please don't use /dev/nvme1, /dev/nvme2, ... as the order is not guaranteed, especially if you mount a new drive to the system. Creating a vdev_id.conf ensures that the serial number of the drive is tied to the alias.
Remember when we discussed there is no configuration needed on the host OS? /etc/zfs/vdev_id/conf is not necessary and only used when creating a zpool for convenience. If your OS gets nuked, and you lose vdev_id.conf, it won't matter at all.
Step 2. Create ZPOOL
For this tutorial, I am creating a RAIDZ1 (RAID 5) zpool. That means 1 drive redundancy in-case of failure. It's up to you if you'd like additional redundancy, RAIDZ2 (RAID 6) would certainly be more risilient.
First, we need to install zfs on the linux machine. Please refer to the OpenZFS documentation on how to install it. It's usually as straight forward as, in my case, dnf install zfs on RHEL 9.
OpenZFS documentation on how to install it
I recommend setting the ashift=12 option when creating the zpool as this is your last chance to do so. Most disks report 512kB sector size to OS due to backwards compatibility reasons, but large disks such as Samsung 990 Pro has a sector size of 4KB or even 8KB. ashift=12 represents a sector size of 4KB which will substantially improve performance.
Perfect! I chose s16z1 as the name as it describes the size and type of raid. Most tutorials will use tank as the name, as it relates to pool. Corny, I reject this.
We're not done yet. zpool is a disk abstraction, and zfs is the file system. When we ran zpool create, it created a zfs file system with it.
List all properties of the zfs file system by running: zfs get all s16z1. To check whether our zpool is properly configured with ashift=12, we can run:
Before we share the system, configure compression (optionally) as well as the default mount point.
Next, let's create a couple of zfs datasets under s16z1 root dataset. We will share them using Samba in the next section.
docs for documents, backups for time machine backup. You can create as many datasets as you'd like. Try to keep them at the top level. If you're wondering what is the difference between just a regular filesystem folder and a dataset—a zfs dataset is a way more than just a folder. You can manage zillion properties of a dataset, encrypt it, send and replicate a dataset, take snapshots, etc.—essentially, the entire ZFS feature set. Therefore, it is a good idea to create individual datasets for large categories of your files. docs or backups is a good abstraction level for a dataset. If you want to send just docs to a another remote server as a backup, you can do that without sending the whole s16z1 root dataset.
We will discuss sharing s16z1/docs as a general purpose share as well as ceating a proper Time Machine storage (for Apple systems) by sharing s16z1/backups with special properties.
Step 3. Share disk on the network
We'll use Samba for this, and the type of file sharing system is orthogonal to ZFS. ZFS doesn't care as long as it is mounted on the host system.
Install Samba:
Create a UNIX user specifically for samba, we'll call it john:
and create a UNIX password for john:
Next, associate the UNIX user john to Samba by creating a Samba password for john . This password will then be used by hosts connecting to the share as SYS\john.
john is also added to the Samba user group. You can verify john as a SMB user by running:
To delete john SMB user, pdbedit -x -u john
Now that the UNIX user and Samba user is setup, configuring Samba service is extremely straight forward.
Edit /etc/samba/smb.conf (delete everything and replace with the following):
Test it out on macOS by mounting it with cmd+K in Finder app and using the following url format: smb://10.0.0.6/docs and smb://10.0.0.6/backups where 10.0.0.6 is the IP of the server sharing the SMB share.
To test it on Debian systems or similar, install apt install smbclient and run:
Mount the smb://10.0.0.6/backups and it will show up as a Time Machine share on macOS. Once mounted, start Time Machine backups by adding the share to macOS > Settings > General > Time Machine.
That's all for now. I plan to write another article expanding on the encryption and very powerful zfs dataset replication features.
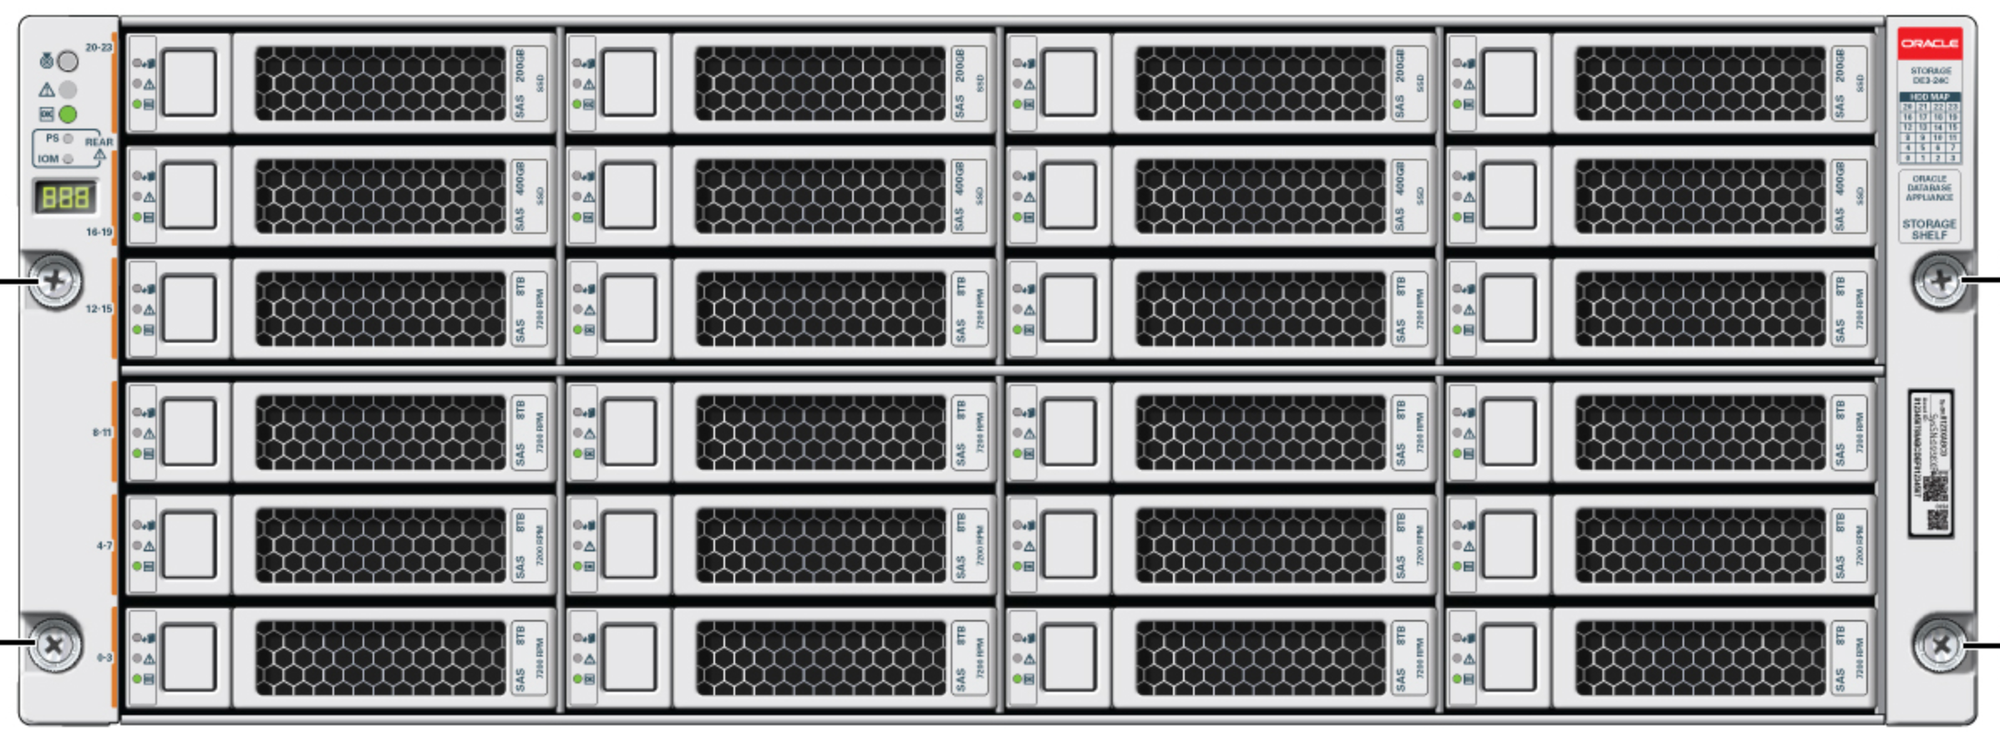
Cover image credit to Oracle ZFS systems. God, it is beautiful: https://docs.oracle.com/cd/E78901_01/html/E78910/gqtmb.html